Download WSPBuilder.exe
Step 1: Install the wsp builder extensions and create a new project using WSP Builder Project Template

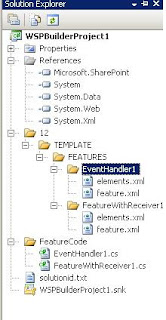
Step 2: The project structure will be as show below
 Step 3: Add a feature to the project, Click Project->Add New Item->Select FeatureWithReceiver and click Add, in a similar way add event handler, The strucutre will be as shown below.
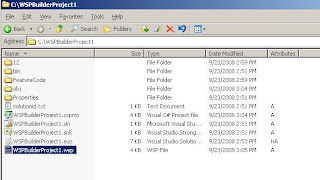
 Step 4: Perform the coding as requirement and build the project. Inorder to create a wsp file Click Tools->WSP Builder -> Build WSP. A wsp package will be created, the project strucutre under widows explore will show a wsp file as shown below
Step 5: You can deploy solution directly from the tools menu or you can create a deployment folder Called Deployment on desktop,
 copy all the required files to this folder. You can deploy using stsadm commands.
a. To add solution use stsadm.exe –o addsolution –filename “FileLocation”
b. To deploy solution use stsadm.exe –o deploysolution –name test.wsp –immediate –allowgacdeployment -force
No comments:
Post a Comment